Basic Map Reading Skills
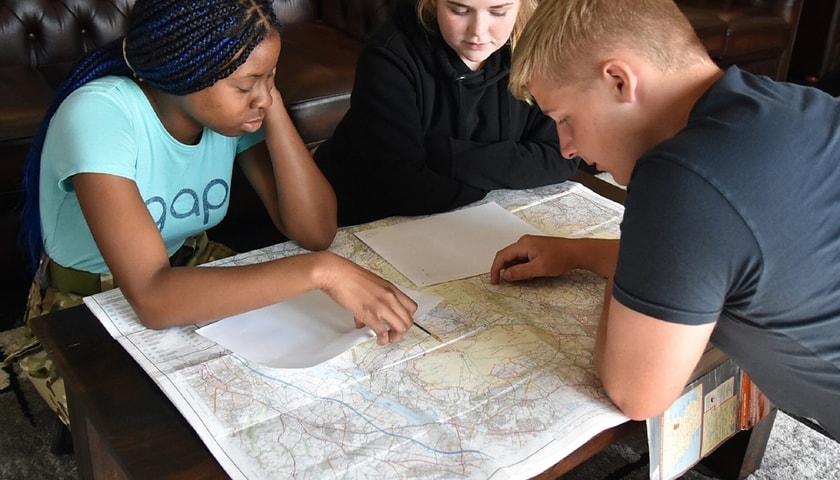
We use navigation skills every day, from following Google Maps when visiting a new city to using satnav while driving. However, for all of the techy developments in mapping, understanding how to navigate a paper Ordnance Survey (OS) map remains a hugely important core skill.
Andrew Lester, Adventurous Training Development Manager for the Army Cadets is a big fan of OS paper maps and says: ‘I regularly hear from Mountain Rescue guys about the big problems that occur when people climb mountains using only electronic maps.
‘They’re great in their place – especially for planning (you can do your calculations so simply) and as a back up – but it can be easy to misinterpret the scale and run into trouble. And then there are the risks of running out of battery or dropping, breaking or losing the phone on the mountainside.
‘Navigation and map reading skills are life skills that are extremely useful to have.’
So, if you think your map reading skills could do with a brush up, check out the four core navigation skills that every cadet should master.
1. Get to Grips with Grids
Knowing how to pinpoint your exact location using the blue grid lines on an OS map is a key navigational skill and crucial to know if you ever need to call for help in an emergency.
The vertical blue lines on an OS map are called ‘eastings’ – they increase in value as you travel east on the map. The horizontal blue lines on an OS map are called ‘northings’ and they increase in value as you travel north on the map.
Four-Figure Reference
A handy way to identify and square on a map is to use a four-figure reference. Grid references are easy when you remember that you always have to go along the corridor before you go up the stairs.
Pinpoint with Precision
If you want to pinpoint a more precise location on a map, you need to use a six-figure grid reference. First, find the four-figure grid reference for the square you originally identified, then write it down with a space after each set of numbers, like this: 62_ 33_
Now imagine this square is divided up into 100 tiny squares with 10 squares along each side. Still remembering to go along the corridor and up the stairs, work out the extra numbers you need and put them into your four-figure grid reference like this: 625 333.
2. Go The Distance
It’s important to be able to use the scale at the bottom of your map to measure the distance between where you are now and where you want to be. You can do this by measuring a distance on the map, comparing it to the scale, and instantly getting a real-world distance.
For straight-line distances on a map use a ruler to get a measurement between points and then compare it to the map scale.
In real life, your journey might not be a straight line so it’s always handy to have a trusty bit of string with you. Lay the string out along the map route, measure and compare to the scale.
3. Clue Up on Contours
Being able to visualise the shape of a landscape by looking at the contour lines of your map is a superb navigation tool to master and one that can be easily developed with practice. It’s especially essential if you’re planning an expedition over mountainous terrain.
On an OS map, the contour lines, orange and brown, show the heights and shape of the landscape. The number on each contour line tells you how high above sea level it is.
Contour lines are the same height all the way along their length, while the height difference between each line is normally 10 metres (your map will tell you the contour interval used). The closer together the contour lines, the steeper the slope of the hill or mountain.
The illustration shows how a landscape is converted into contour lines on a map. It can be really helpful to think of contour lines as high tide lines left by the sea. As the water level drops it leaves a line every 10 metres on the landscape. The marks left behind are your contour lines.
4. Get your Bearings
Get to know your compass and it will become and indispensable tool when out hiking, cycling or on an expedition. A compass allows you to navigate accurately when there are few obvious landscape features.
The OS Beginner’s Guide to The Compass provides these four steps to using a compass for navigation:
- From your starting point on the map, place the index line on an imaginary line between where you are now and where you want to be, with the direction of travel arrow on the base plate pointing the way. Start by drawing a line from A to B.
- Holding the baseplate in place, rotate the compass housing so the orienting arrow lines up with grid north on the map. The orienting lines should be parallel with the vertical blue grid lines (eastings).
- Your compass does not point to grid north. Magnetic north throughout Great Britain can range from 0O to 5O. The amount of variation changes every year, so check your OS map to work out the current value. Add magnetic variation to your bearing by rotating the compass housing.
- Take your compass off the map. Hold your compass flat at waist height and turn yourself until the red needle meets up with the letter N and is positioned over the orienting arrow. You’re now ready to go! The red direction of travel arrow will point the way.